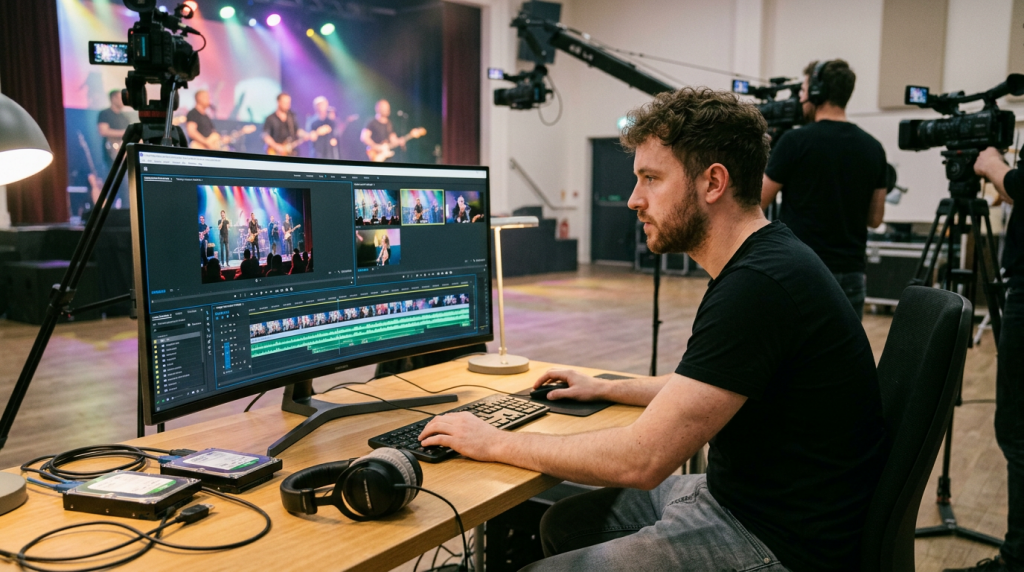
If you are editing documentaries, interviews, or multi-angle content, manually dragging clips onto a timeline and trying to match the audio waveforms is the fastest way to kill your productivity.
For professional editors, the Multi-Cam Workflow is not just a feature; it is an absolute necessity. It allows you to treat four or five different camera angles like a single, live-switched video source. Here is how to move beyond manual syncing and start editing at a professional scale.
1. The Importance of the “Master Sync”
The secret to a smooth multi-cam edit starts before the cameras even roll. If you are on set, always use a slate or a loud hand-clap to create a clear “spike” in the audio waveform.
If you are working with footage provided by someone else, look for these natural sync points:
- Audio Waveforms (The Gold Standard): Adobe Premiere Pro can sync clips based on audio content. Even if your cameras didn’t have a formal clap, the software can analyze the ambient room noise across multiple microphones to align them with near-perfect accuracy.
- Timecode: If you are working on high-end productions, ensure your cameras are “jam-synced” to a master timecode. This makes syncing a one-click process that never fails.
2. Building the Multi-Cam Sequence
Once you have your clips (let’s say, two cameras and one external audio recorder), select them all in your Project Bin, right-click, and select “Create Multi-Camera Source Sequence.”
- Pro Tip: Choose the “Audio” option for synchronization. This tells Premiere to analyze the waveforms and align everything automatically. Once finished, you will have a new “Multi-Cam Clip” in your bin.
3. The Multi-Camera Monitor
When you drag that new Multi-Cam clip into your timeline, you can right-click it and select “Multi-Camera > Enable.”
Now, open the Multi-Camera Monitor (the small icon at the bottom of your Source/Program panel). You will see all your camera angles displayed at once. As you hit Play, you can click on any of these angles in real-time. Premiere will automatically add “cut points” at every click. This allows you to edit a 30-minute interview in roughly 30 minutes!
4. Fine-Tuning After the Switch
The best part of this workflow is that it is non-destructive.
- Refining Cuts: If you realize you cut to “Camera B” a second too early, you don’t need to delete and re-drag clips. Simply click the edit point on your timeline and use your number keys (
1, 2, 3...) to swap to a different angle instantly. - Rolling Edits: Because it is essentially a “live” edit, you can use standard rolling edit tools to adjust the timing of your camera switches without ever breaking the underlying sync of the footage.
5. Managing Audio in Multi-Cam
This is where most editors get tripped up. By default, multi-cam sequences might try to use the audio from all the cameras, which creates a messy, echo-filled mix.
- The Pro Fix: After you have created your multi-cam sequence, right-click it in the timeline and go to “Multi-Camera > Camera 1” (or whichever angle has the high-quality external audio). This ensures you are listening to your clean, primary audio track while you switch between the different video angles.
Why This Changes Your Business
When you move to a multi-cam workflow, you aren’t just “editing faster”—you are editing smarter. It allows you to maintain the energy of a live conversation, which is critical for documentary storytelling. By removing the tedious work of manual alignment, you can spend your time on the creative side: deciding exactly when to cut to a reaction shot to emphasize a point.
Mastering this flow is one of the biggest leaps you can make toward achieving a professional, broadcast-ready workflow.
Do you find multi-cam editing intimidating, or do you have a favorite shortcut that makes your syncing process even faster? Let me know your current workflow below—I’m always looking to streamline my own project setup!
Leave a Reply