
If you ask a casual viewer what makes a video feel “pro,” they will almost always talk about the visuals. But if you ask a professional editor, they will tell you the truth: the video is only as good as the audio. You can forgive a slightly blurry shot, but an audience will click away in seconds if the audio is muddy, inconsistent, or lacks professional depth.
Great sound design is “invisible”—it works on the viewer’s subconscious to heighten tension, provide context, and keep them focused on the narrative.
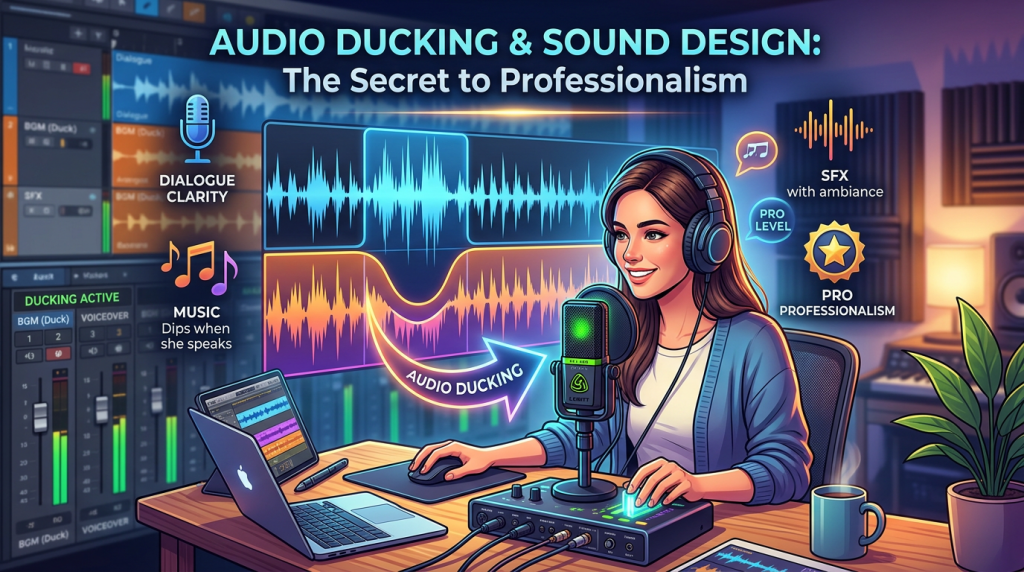
The Art of Audio Ducking
In any project with a voice-over or interview, your primary goal is vocal clarity. If your background music or sound effects compete with the speaker, the viewer gets fatigued. This is where Audio Ducking comes in.
- What it is: Ducking is the process of automatically lowering the volume of your music track whenever the narrator or interviewee is speaking.
- The Pro Approach: Don’t just manually keyframe the volume down. If you are using Adobe Premiere Pro, use the Essential Sound Panel. Tag your dialogue as “Dialogue” and your music as “Music.” You can then enable “Ducking” and adjust the sensitivity. Premiere will calculate the volume reduction automatically, ensuring your dialogue stays crisp while the music swells in the gaps between sentences.
The Power of “Room Tone”
One of the most common mistakes in documentary editing is “dead air.” When you cut between two different interview takes, you often end up with a moment of total digital silence. To the human ear, this sounds unnatural and jarring.
- The Fix: Always record—or source—”room tone.” This is the natural ambient sound of the environment (the hum of a computer, the faint sound of wind, the quiet vibration of a room). Place this on a dedicated audio track under your entire timeline. When you cut between two different clips, the room tone acts as an “audio bridge,” keeping the soundscape consistent and professional.
Sound Design: Adding “Texture” to Your Narrative
Sound design is about layering. A professional scene is rarely just a voice and a music track. It usually contains three layers:
- The Dialogue (The Story): This is the foundation. It must be at the forefront of the mix.
- The Music (The Emotion): This provides the pacing and emotional subtext. It should support the story, not distract from it.
- The Foley/SFX (The Reality): This is the secret sauce. If you are showing a shot of a historical map, add a subtle sound of paper crinkling. If you are showing industrial footage, add a low-frequency hum or the sound of distant machinery.
Example: In a documentary segment about an industrial factory, don’t just rely on the music. Layer in a very quiet, low-frequency “thrum” that gets louder during a high-tension reveal. This creates a physiological response in the viewer—they feel the factory even if they aren’t consciously listening for it.
Essential Mixing Tips
- Don’t Over-Compress: Compression helps even out audio levels, but too much makes the audio sound “squeezed” and artificial. Aim for a natural, dynamic range.
- Check Your Levels: Never let your audio peak above -3dB. Aim for your dialogue to sit consistently around -6dB to -12dB. If you are hitting the red (0dB), you are clipping, which results in harsh distortion that cannot be fixed in post.
- Use High-Pass Filters: If your voice-over sounds “muddy” or “boomy,” use a High-Pass Filter (Equalizer) to cut off the very low frequencies (below 80-100Hz). This removes the “mush” while leaving the clarity of the voice intact.
My “Audio-First” Workflow
When I start a new project, I actually mix the audio before I finalize the color grade. By focusing on the sound early, I find that the pacing of my cuts naturally improves. If the audio is clean and the sound design is immersive, the visuals almost always seem to “cut themselves” better.
Do you spend enough time on your audio mix, or is it usually the last thing you rush through at the end of a project? What is your biggest struggle when it comes to balancing music and dialogue? Share your experience below—I’m always happy to share a specific plugin recommendation or technique to help you get that “broadcast quality” sound!
Leave a Reply