
Every professional editor has been there: you receive high-priority, “must-use” footage, but the quality is poor. Maybe it was shot in a low-light environment with heavy sensor noise, or the camera was handheld with shaky, distracting jitters. A junior editor might discard this footage, but a professional editor knows how to “rescue” it.
Today, we are going to look at the advanced tools in your kit to restore footage that looks like it belongs in the trash.
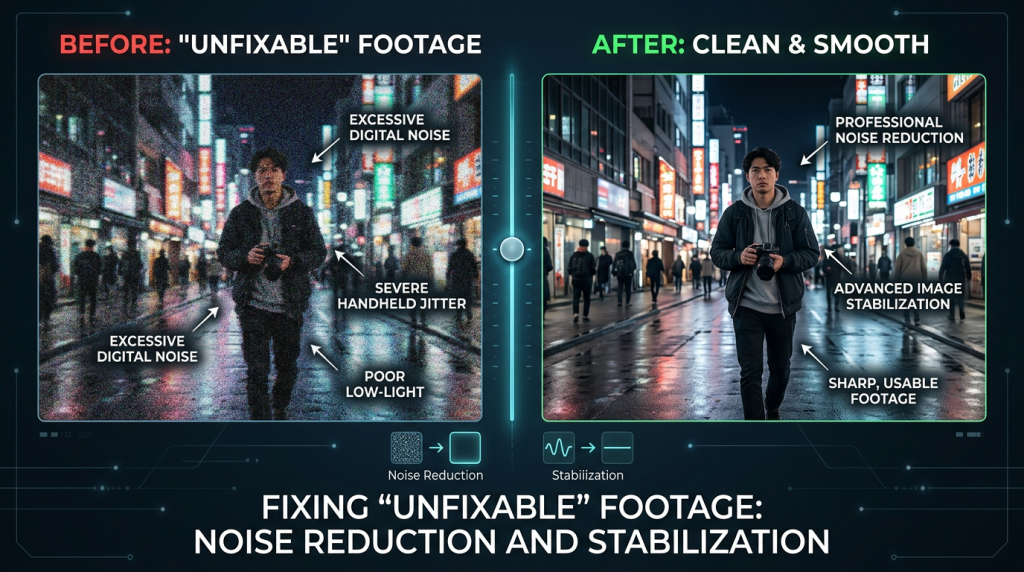
1. Conquering Digital Noise (Grain)
Sensor noise (often called “digital grain”) happens when a camera’s ISO is pushed too high. It appears as “dancing” specks of color in the shadows.
- The Tool: Use a professional noise reduction plugin like Neat Video. It is the industry standard for a reason. Unlike built-in blur filters—which just turn your noise into a muddy, blurry mess—Neat Video analyzes the noise pattern and mathematically subtracts it while preserving the sharpness of the edges.
- The Pro Approach: Don’t just apply it and move on. Noise reduction is extremely “expensive” for your computer’s processor. Apply it as the final step in your grading chain. If you color grade after reducing noise, you will likely introduce new artifacts.
2. Advanced Stabilization: Beyond the “Warp”
Premiere’s Warp Stabilizer is powerful, but it is often misused. If you just slap it on and hit “analyze,” you will likely end up with the infamous “jello effect,” where the image looks like it’s warping or breathing unnaturally.
- The Fix: Change the “Stabilization” method from Subspace Warp to Position, Scale, Rotation. This tells the software to only fix the movement of the frame rather than trying to distort the pixels to match them.
- The Hidden Setting: Go to the “Advanced” tab in Warp Stabilizer and check “Detailed Analysis.” It takes longer to process, but it is significantly more accurate for complex movements. If that still doesn’t work, lower the “Smoothness” percentage—sometimes a little bit of natural movement is better than a processed, “floaty” look.
3. Re-framing as Restoration
Sometimes, the best way to fix shaky footage is to remove the problem entirely.
- The Crop Trick: If your footage was shot in 4K but your timeline is 1080p, you have a massive advantage. You can “punch in” 200% on the stable part of your shot. By scaling in, you effectively crop out the wobbly edges of the frame and leave only the solid center. This is often cleaner than any stabilization filter could ever be.
4. The “Blur/Sharpen” Balancing Act
When you stabilize footage, you inevitably lose a tiny bit of image quality because the software is constantly scaling and cropping the image.
- The Counter-Measure: After applying stabilization and noise reduction, add a very subtle Unsharp Mask (around 10–15%). This adds a tiny bit of “perceived” sharpness back into the image, making the final result feel crisp and intentional.
5. When to Know When to Quit
This is the most important lesson in professional editing: Restoration has a limit.
- If the footage is so out of focus that the subject’s eyes aren’t sharp, or if the noise is so heavy that the subject is indistinguishable from the background, stop trying to fix it.
- The Professional Pivot: If the clip is truly unusable, be transparent with your client. Explain that the footage cannot be saved to professional standards. Offering to source high-quality B-roll or suggesting a re-shoot shows you care more about the final quality of the project than just “doing the job.”
Summary
Rescuing “bad” footage is a hallmark of a seasoned pro. It shows you have the technical knowledge to troubleshoot and the creative integrity to maintain high production values. Use your restoration tools carefully, use them in the right order, and never be afraid to admit when a shot simply doesn’t meet the bar.
What is the “worst” footage you’ve ever had to work with? Did you manage to save it, or did you have to find a creative workaround? Let me know in the comments—I’m curious to see your “salvage” stories!
Leave a Reply